How To: Upholstered Headboards
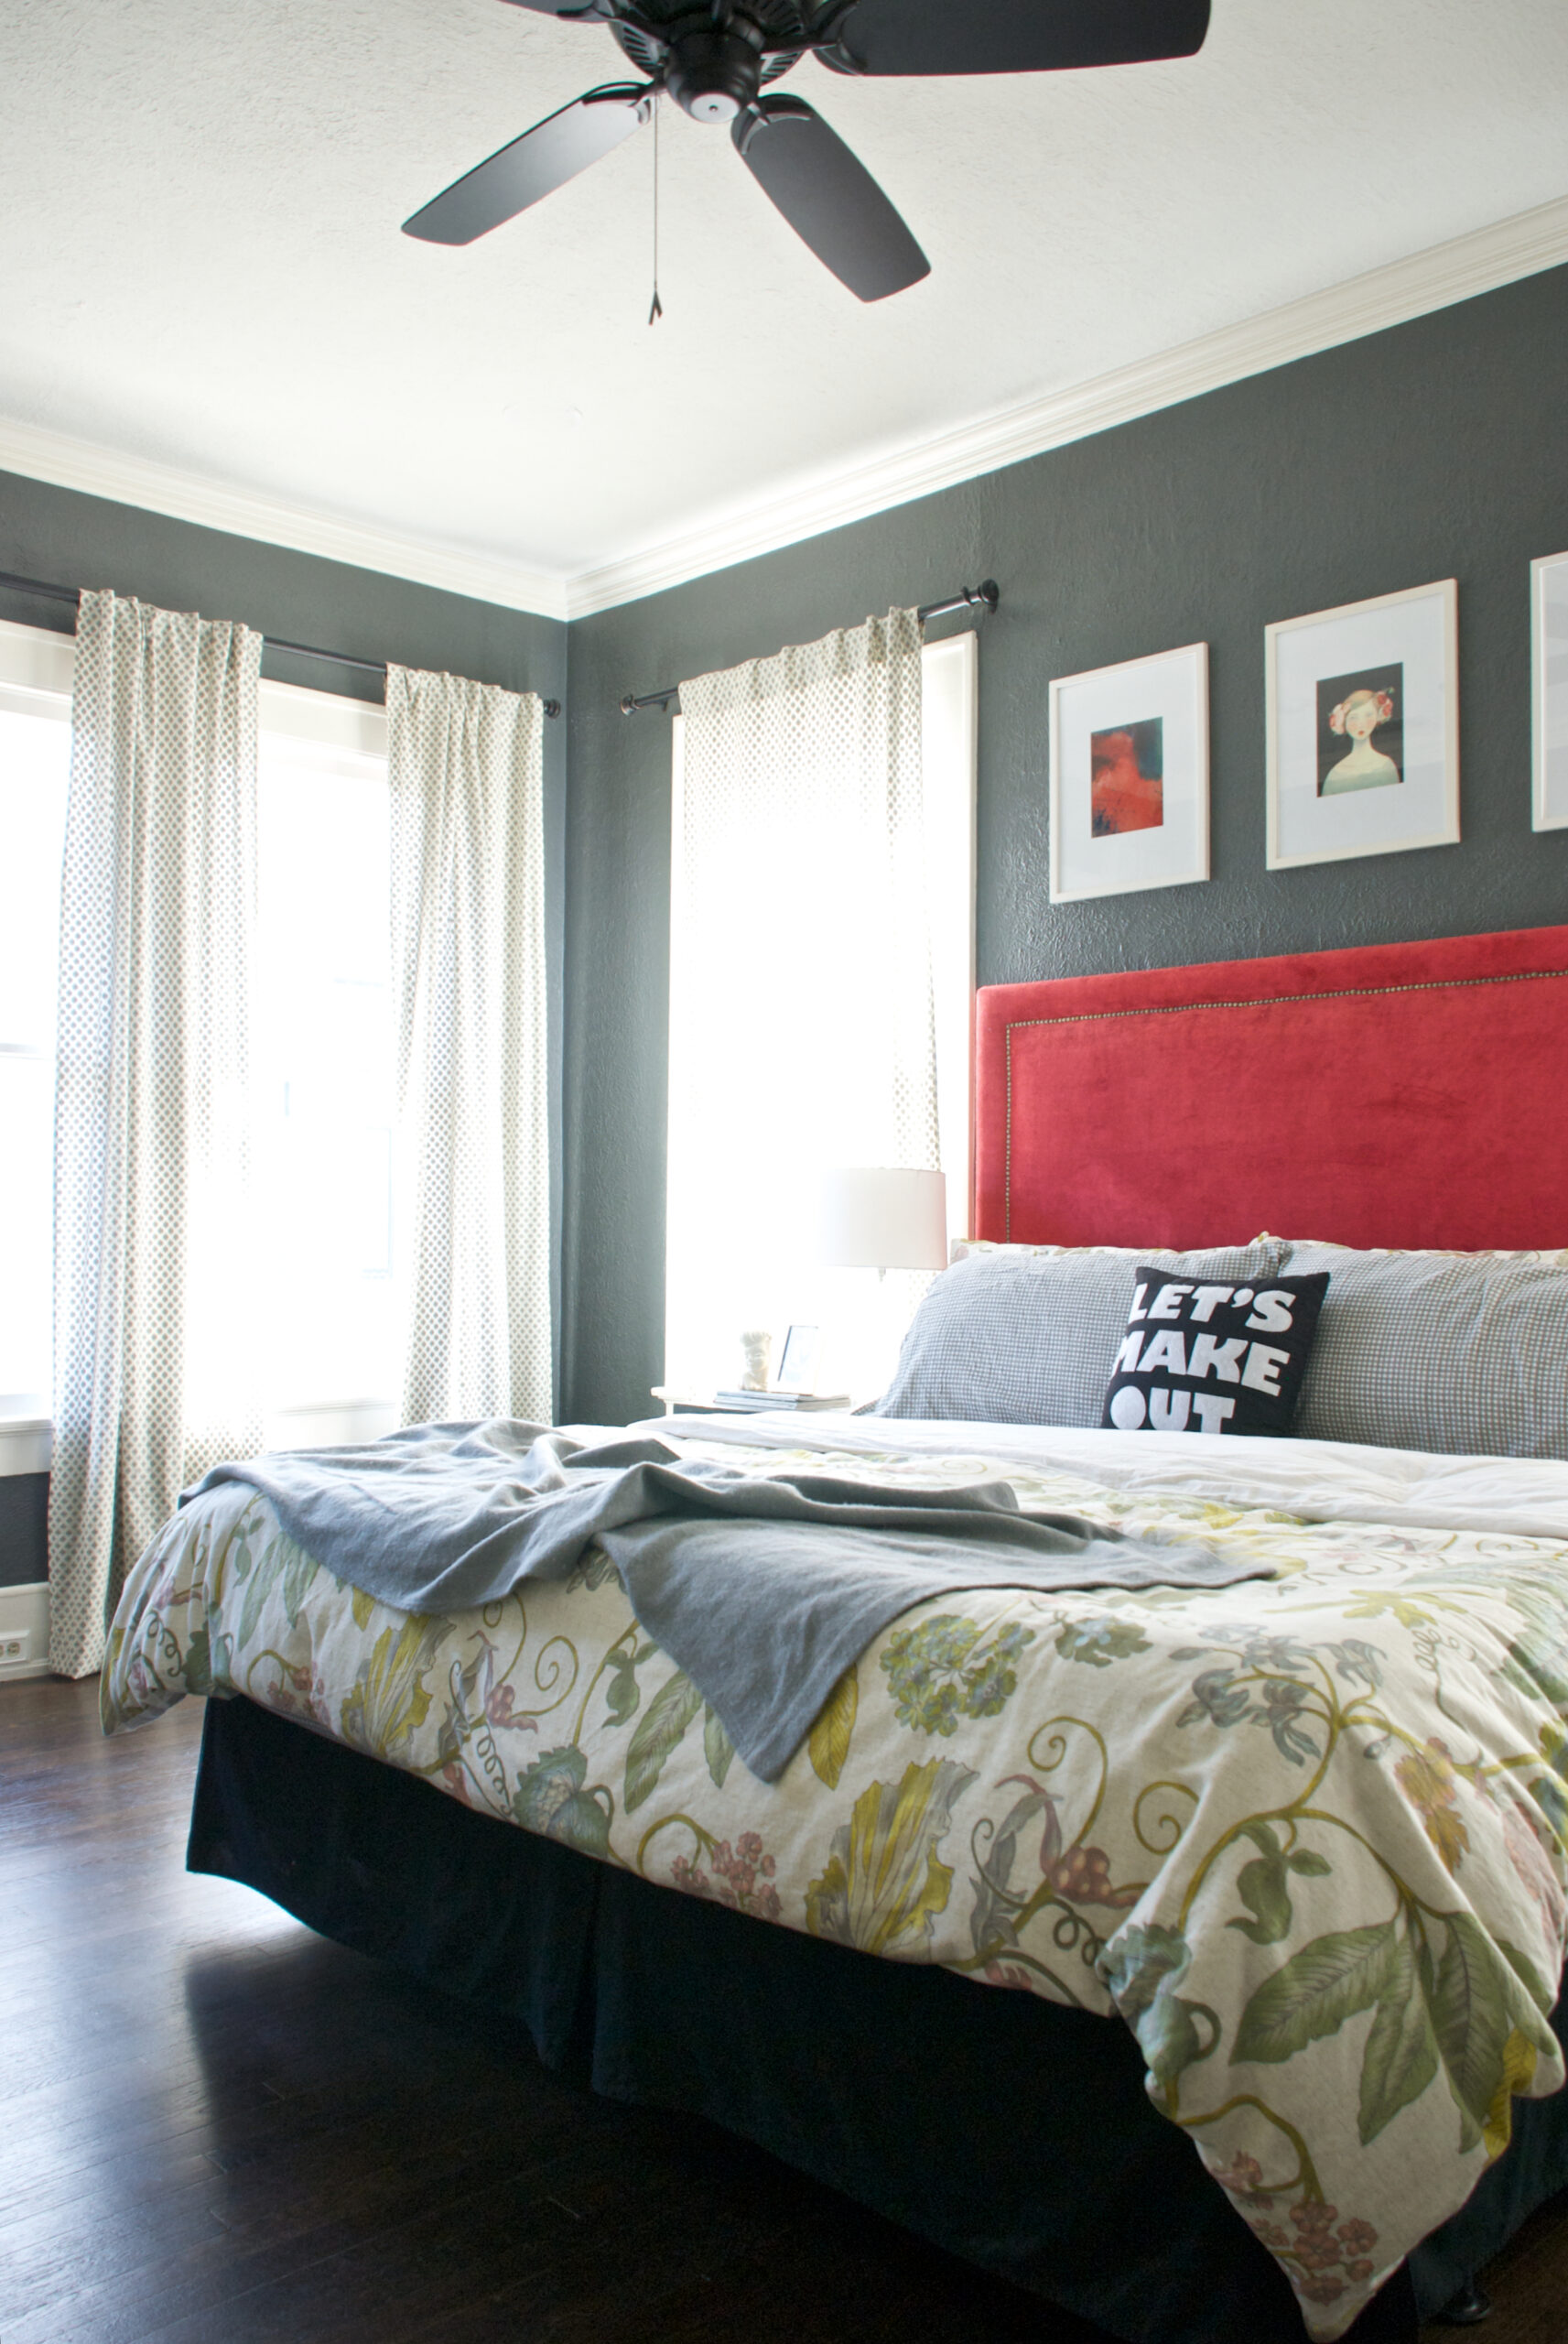
When it came to designing our own personal bedroom, I knew I wanted DARK walls. With all the natural light in our house, I felt like this would keep the space feeling warm, intimate and not too stark in the mornings. We really didn’t want to invest in bedroom furniture at the time but managed to find a black, cerused, mid-century set that suited us just fine (one day, I know they’ll be gorgeous lacquered cream with gold hardware.. ).
With the dark walls and furniture, I thought it would be fun to play with some bright colors. After seeing several stunning coral headboards, I knew that was the direction I wanted to go.
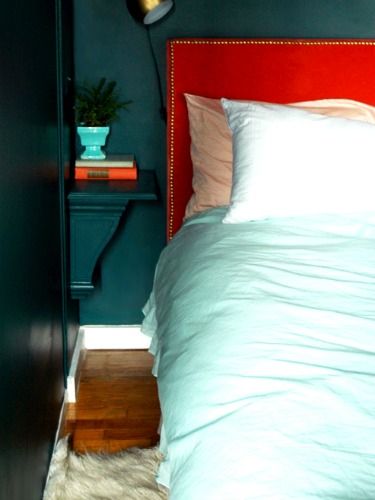 Photo via Little Green Notebook
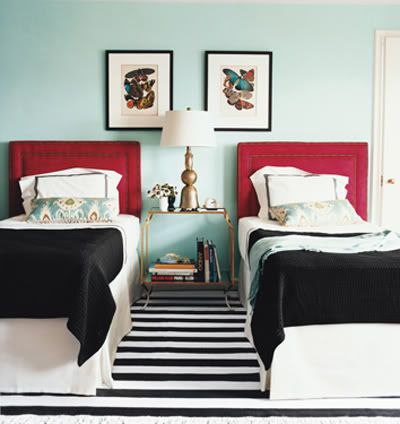
Photo via Domino
After searching high and low for an appropriately priced upholstered headboard, I gave up and set out to make my own.
Supplies:
– 2 5-yard rolls of Dritz Nailhead Trim. This stuff is genius. The nailheads are connected and you only nail in about every 10th nail, so it lines up very easily to ensure a straight strip.
– A tack hammer. You might be able to get away with a rubber mallet, but I figured it was worth the $15 to make sure everything went smoothly.
– 2 rolls of upholstery batting similar to this.
– Spray Adhesive similar to this.
– A thick piece of plywood from a local hardware store. FYI, Home Depot will cut wood for you and the first two cuts are free of charge. We knew we wanted the headboard slightly wider than the mattress and it should sit just under the top of the mattress so it appears to extend all the way to the floor at first glance. We also wanted something a tad bit taller, so our plywood dimensions came out to: 74″ wide by 40″ high.
– A wall cleat similar to this. I’ve read several different attachment methods but after years in hospitality design, I know that a wall cleat is the way to go.
– Fabric! For our particular dimensions, I ordered 4 yards to be safe but I believe we only used about 3 total. The material is Robert Allen’s Gentle Dream in Coral.
– Lastly, we also used a staple gun and a remnant piece of lumber to mount the wall cleat to.
The process itself is really fairly simple. If I hadn’t procrastinated, I bet it would have only taken a couple of hours at most. It does help that we were just upholstering a rectangular shaped headboard. I am sure for more complex shapes, you’d want to take some additional time making sure the fabric folds were all tight and secure.
Step 1: Spray the front of your plywood down with spray adhesive and wrap in the upholstery batting (leaving the back of the plywood exposed). Repeat as needed for softness desired. I did this about two or three times so it looked nice and plush. I also flipped it over and reinforced the edges with several staples along each edge.
Step 2: Wrap the fabric around the headboard. Make sure it’s as tight as you can get it and secure with staples along the back.
Step 3: Decide how far in you would like to add nailheads. Ours are 3.5″ from the edge. Measure every time you nail one in to ensure the lines are straight. Buying the nailhead strips as opposed to the individual nailheads make this go by much faster.

Step 4: Secure cleat to wall and back of headboard. Because the wrapped portion of the batting and fabric makes a thick edge on the back of the headboard, we used a small piece of wood (maybe 3/4″ thick and the length of the cleat) on the back of the headboard to mount the cleat to. This ensures that the cleat on the back of the headboard sits flush with the other portion of the cleat mounted to the wall. Follow the installation directions that come with your wall cleat and make sure to use a level.
 Photography by Hilary Rose Walker of Our Style Stories
Voila! 4 steps + no sewing = my kind of DIY project. All in all, much cheaper than buying some pre-made piece and we ended up with a fully custom headboard. Will we have it forever? Maybe not, but I won’t feel bad about re-purposing it in another room or selling it since it didn’t put a huge dent in our bank account. After three years though, we couldn’t be happier that we rolled up our sleeves and did it ourselves!
XO – Aubrey